Shrinked window
/But look what happened with the new window (before, during and after) :
How time flies - with capers
/I found these funny photos below, that we apparently took every year. I call the serie "capers harvest on our terrace" (capers = caperi).
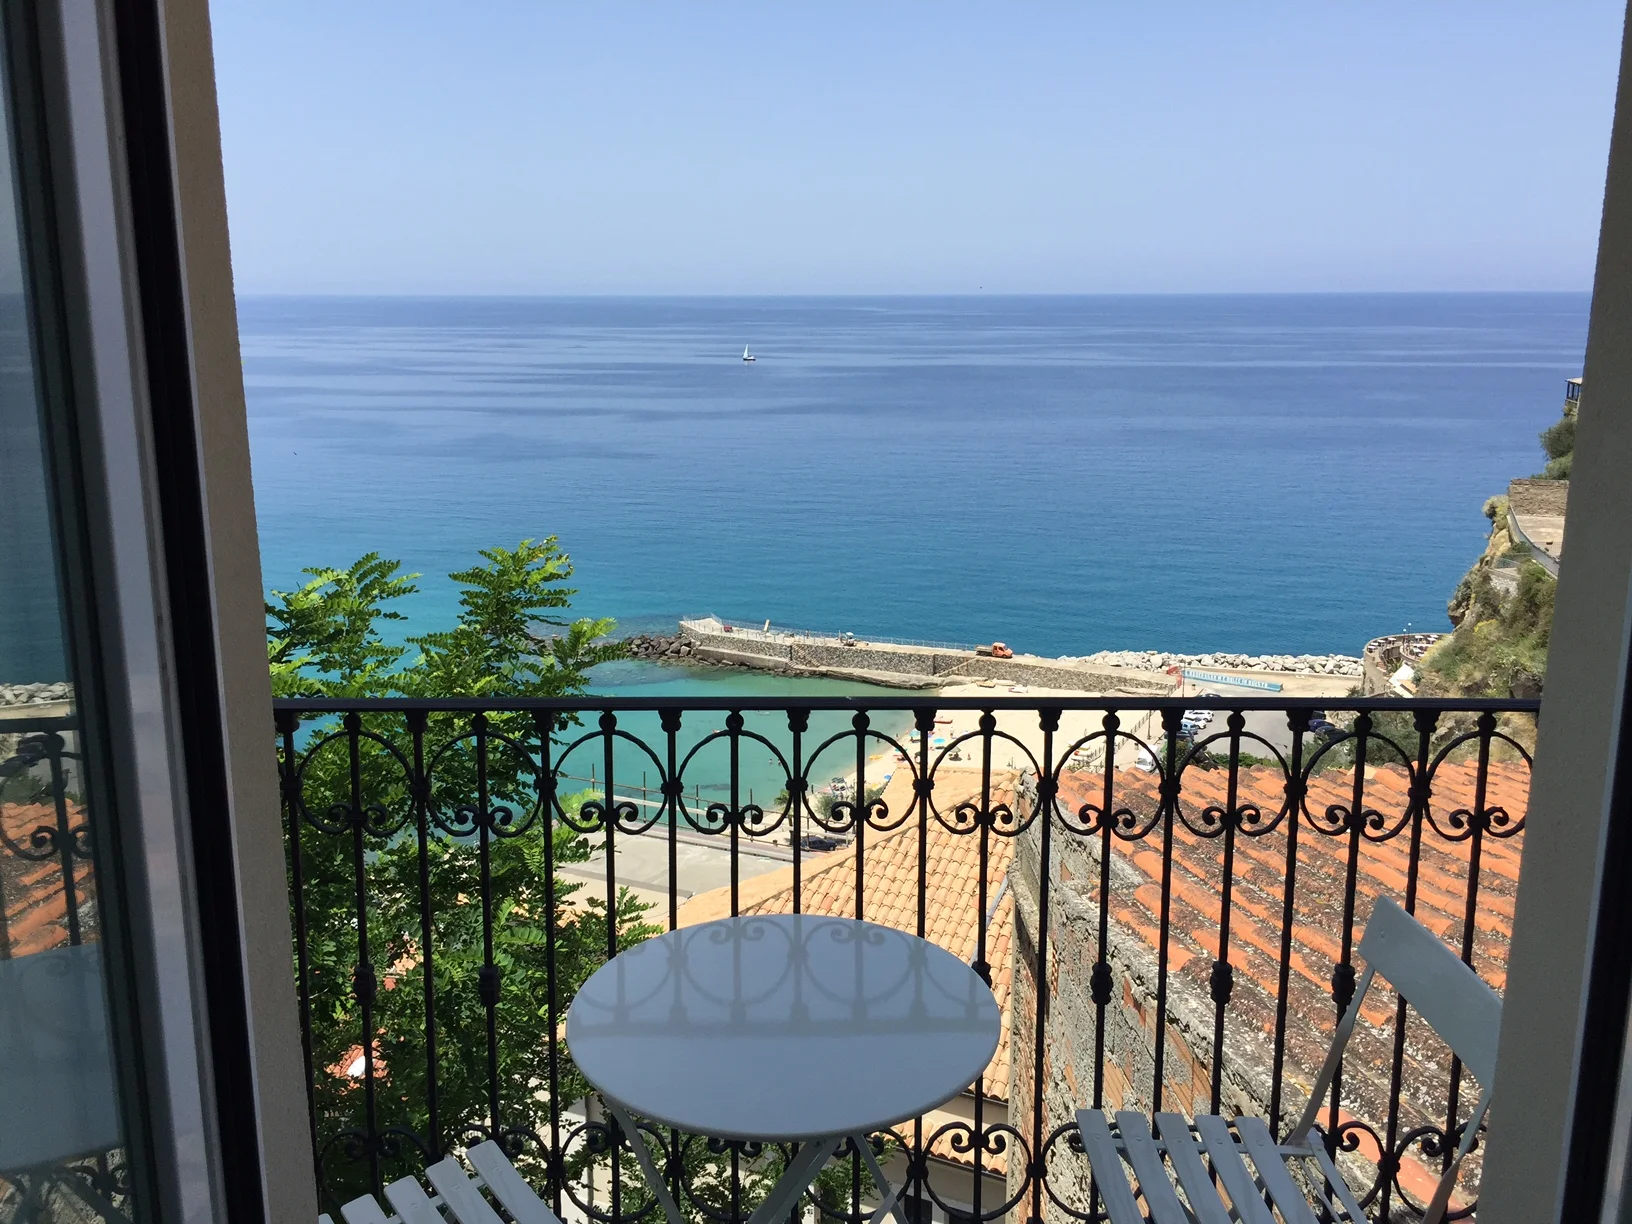
Balcony : stunning !
/

It was our biggest worry that we had made the wrong decision with these blue tiles. They were not cheap and I thought they might draw off too much attention from the spectacular view.
But look at the result !
I am so impressed myself - the pictures are stunning (maybe more than reality).
The blue tiles underline the impression of floating between sea and sky !!

Of course the different position of the sun let the tiles reflect their blue color differently. In direct sunlight it might appear a bit kitschy - but I am calling it "Amalfi style".

And here are some "before" photos, when I tried to picture with one single sample tile the effect of light and reflection :


Shopping source: these waterblue tiles are from Fornaci d'Agostino from the Emozioni serie
And the finish is diagonal, which suits a rectangular balcony shape best:

Next time I will present our roof terrace. Very "Amalfi"...
...
mixed wrought iron works and some before and after pics
/
Even if I risk to bore you with my posts about wrought iron, I need to post one more time about that subject. I need to summarize for us what we have at our Italian home so far. There are a lot of different designs, but also patterns that are repeated. Above an older sketch of mine and below some pictures:
 BEFORE : my favorite - in the appartment for guests.
 AFTER : this rail needed to be higher for saftey reasons. The craftsman repeated the "S" style that we have allover the house. (I liked it right away when I saw this picture for the first time. But in comparison with the old before picture I realised the modification and would have prefered it more simple. - And the windows, inside white outside brown is another subject... Yeah, I am difficult, sorry. I should not complain with such a view!!!)
 BEFORE : the facade and its windows and balconies with different wrought iron before the renovation
 AFTER : the facade after renovation (with colored plaster) - the balcony rails are painted black and the windows got new iron grids which repeat elements of the arch over the main entrance and the "S" from two of the balconies.
Better details in the next pictures:


 BEFORE and AFTER : renovation in progress, the old rail on the left was replaced by the rail on the right (already by the pre-owner)
 The new rail is not only used for the balcony in the first floor (piano terra) but also for the garden floor (semiinterrato) where we will have the appartment for our guests (small left picture).
 This is another tiny seaside balcony. I have no information about its renovation, wheather it is just painted black or if it was adjusted to the other balconies
by adding
some "S" like these ...
 ... to become
like this:

 On the inside of the house we do have iron stairways railing, again with some "S" design

On the left is the craftman's drawing, the proposal for our garden doors. And we decided to do it that way and not as I have posted before.
No scrolls, no "S". Just classic and save.


