Update: Photos from our project
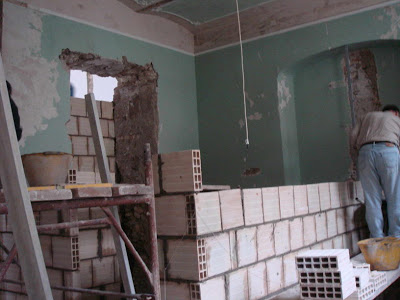
/The new year has just started and it's already February! While Angelo works on our project in Pizzo - the wooden and tile flooring now is all done - I am sitting at my desk in Bangkok searching online for some decent outdoor furniture. Calabria has not yet been discovered by IKEA & co and so it is not easy to find cool stuff. Beside having done some shopping in Northern Italy lately, ordering online seems a good solution to save time, but not being able to see and touch what you get and shipping cost to the most distant region of the Italian mainland are the downside. And while we are working on getting the apartments furnished before early summer, I get already many booking enquiries. I am really delighted to see that we get credits for our 5 star rated hospitality. But of course, our potential guests want to see photos! - Photos? But it's not furnished! - However, Angelo sends us on our what's app group (yes, that's how we manage another long distance project) almost daily updates. Although these are not for advertisement, I am posting them today as an update from the project side. And I promise the furnishing will be as nice as in our residence: a mix of old and new decorated with local art. Expect nice shots mid April. For now, please accept that we are at this state:

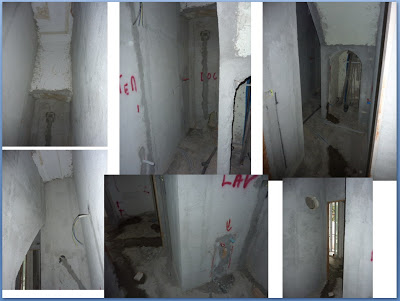
Dependance: entrance area from the street with view into second bedroom

Dependance: The second bedroom with small balcony facing the sea and restored stone wall
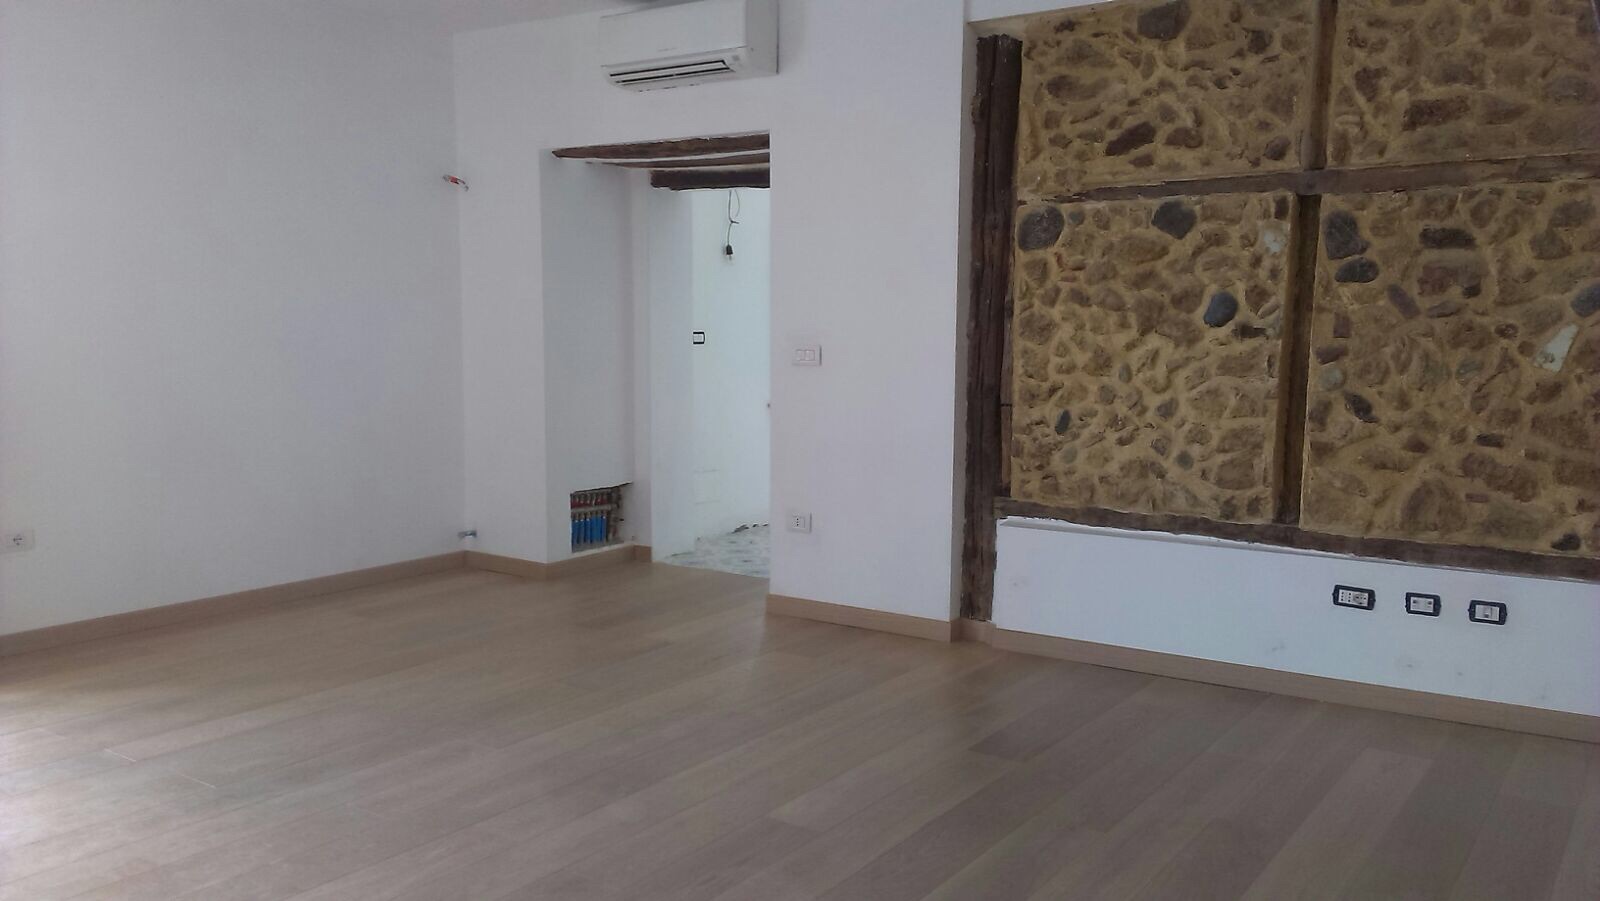
Dependance: living room with passage to the kitchen and restored original stone wall

Dependance: living room and restored original stone wall - I am curious myself how the staircase leading to the attic will look like ...
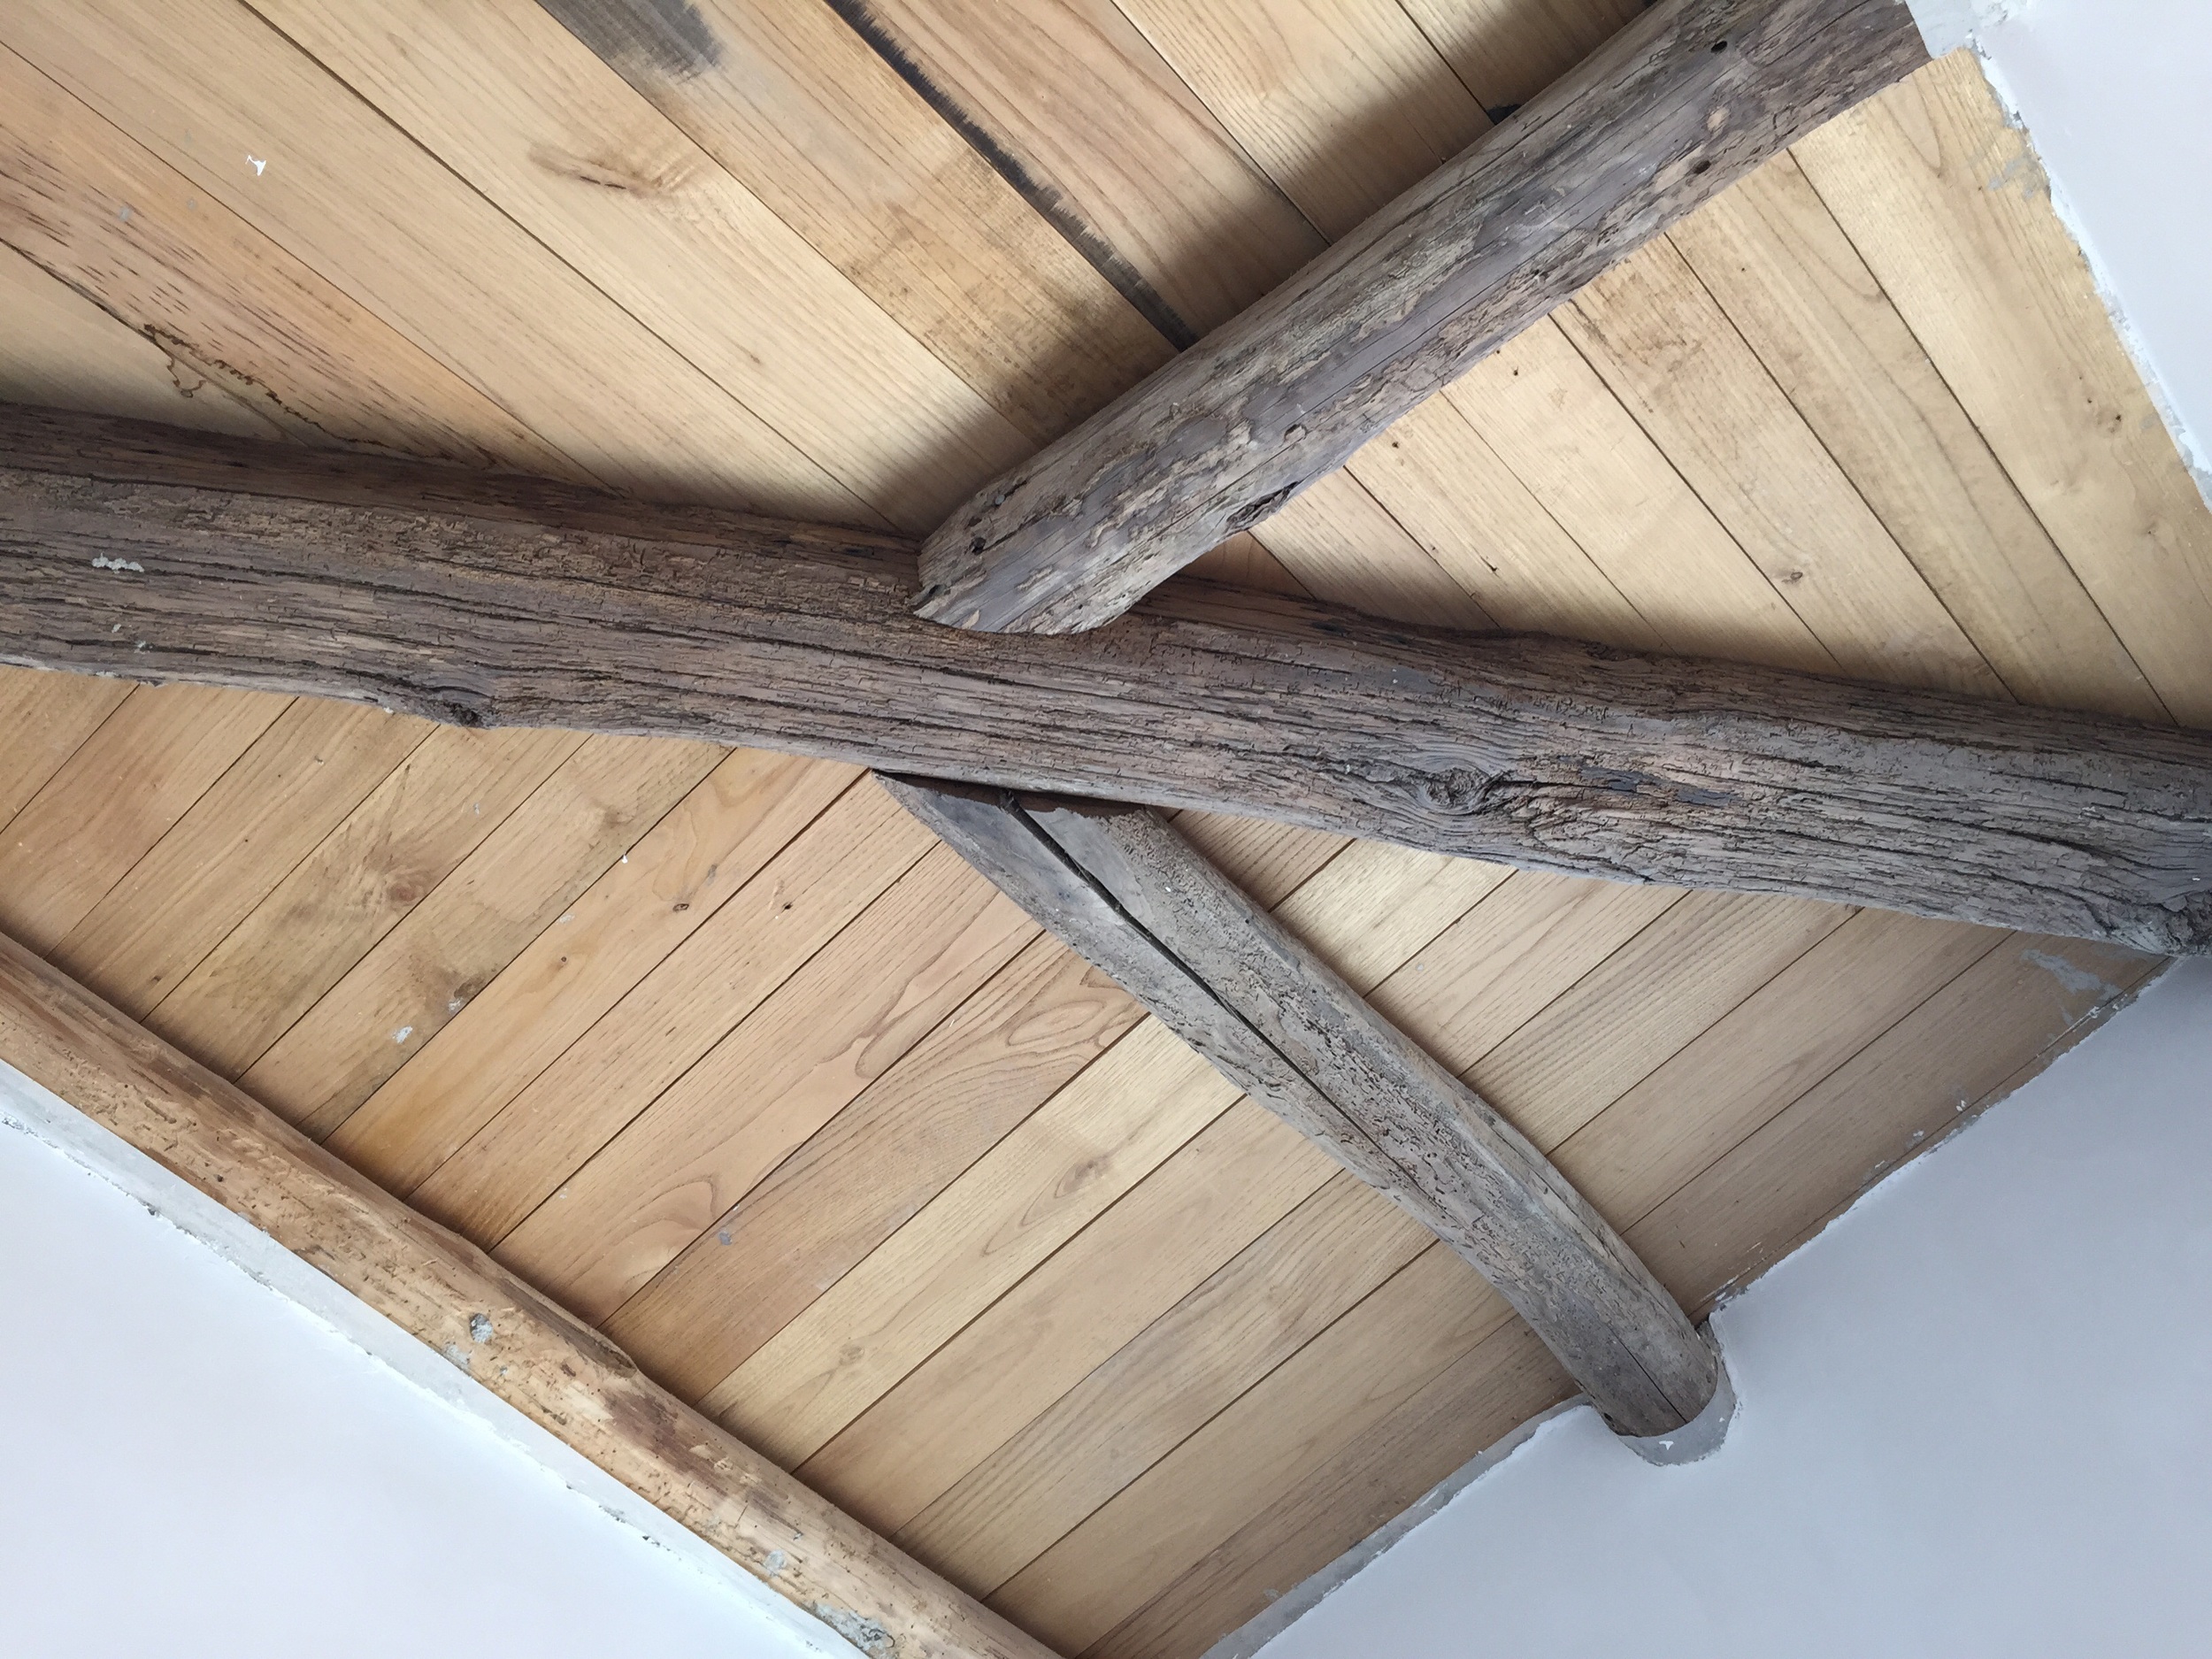
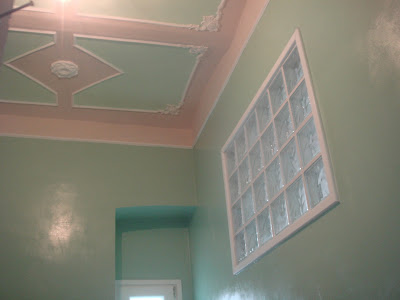
Dependance: restored wooden ceiling

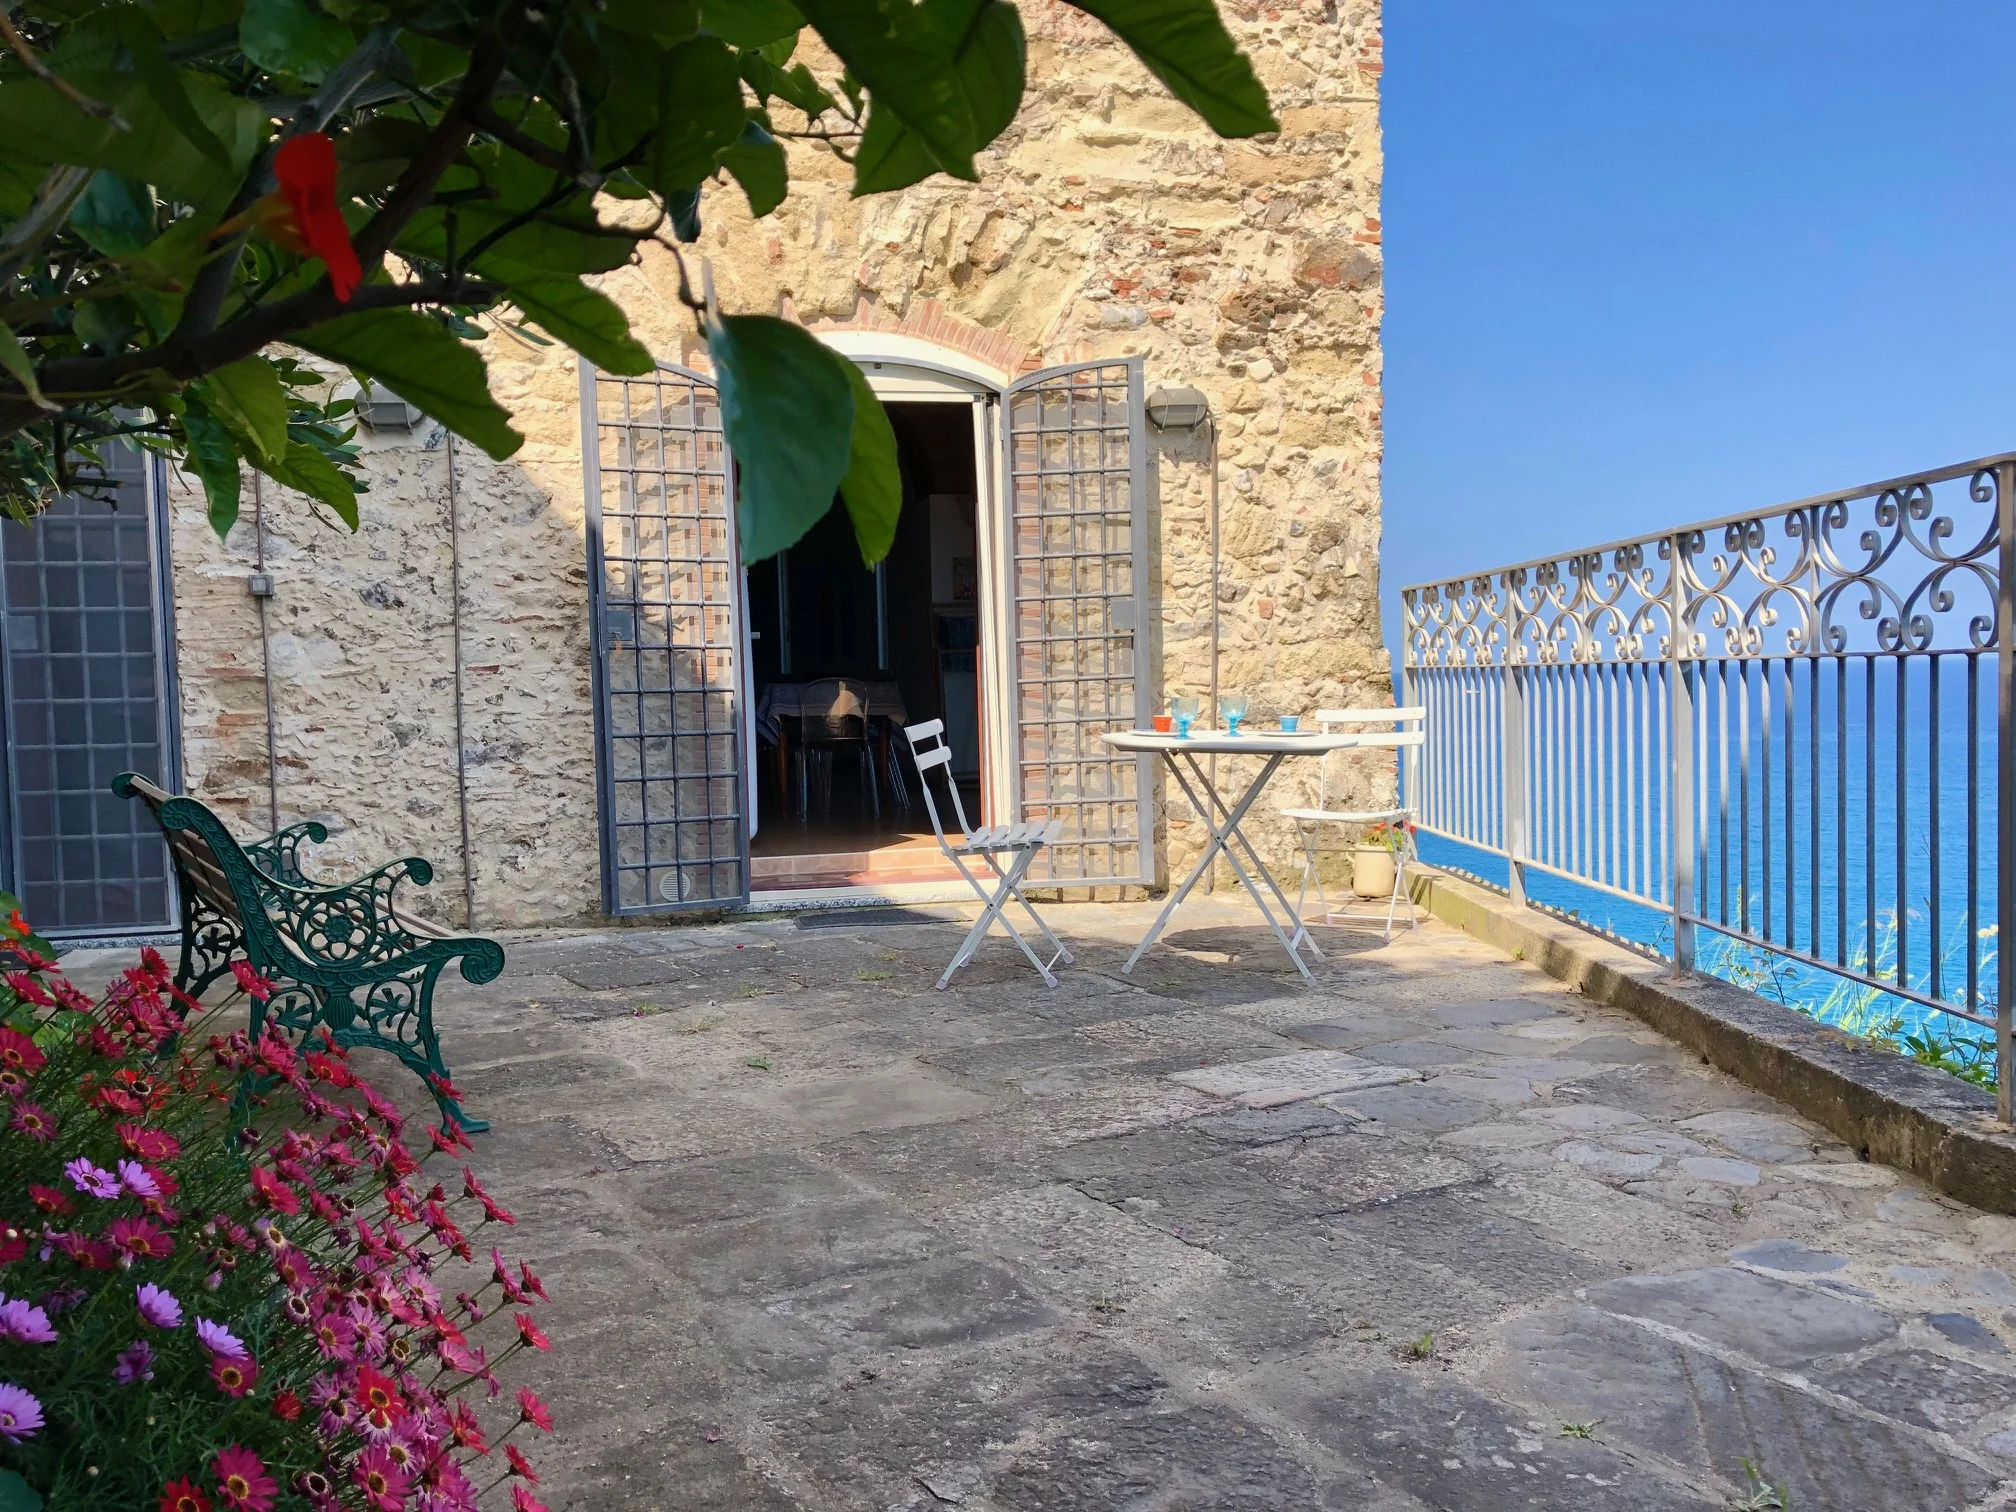
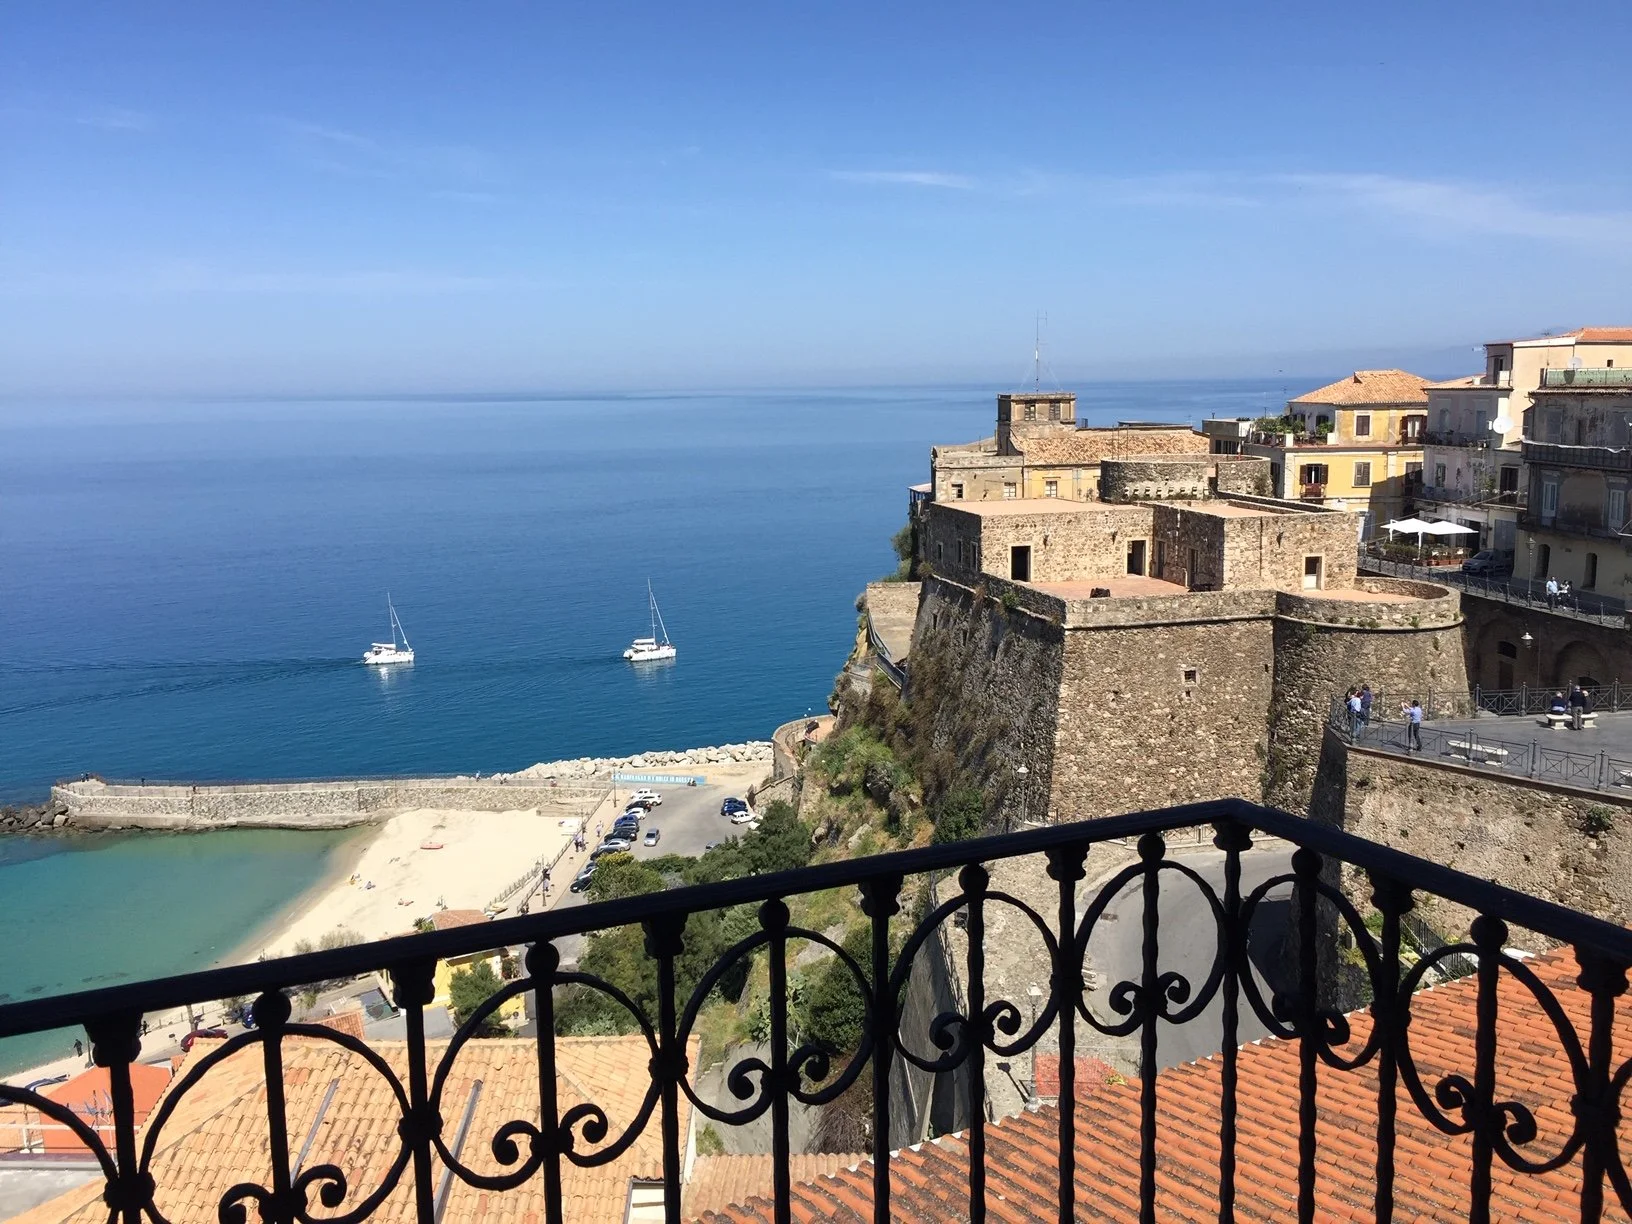
Dependance: roof terrace detail (wrought iron railing still coming)

Dependance: roof terrace stone bench (wrought iron railing still coming)

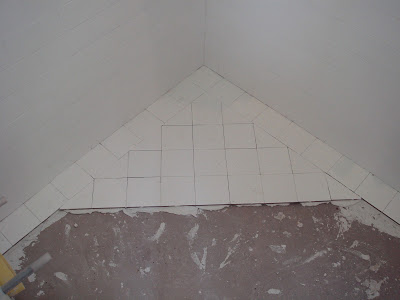
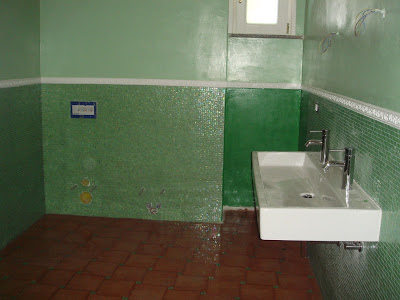
Dependance: kitchen not yet delivered but floor tiles look great!

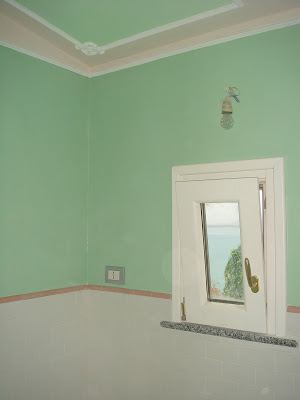
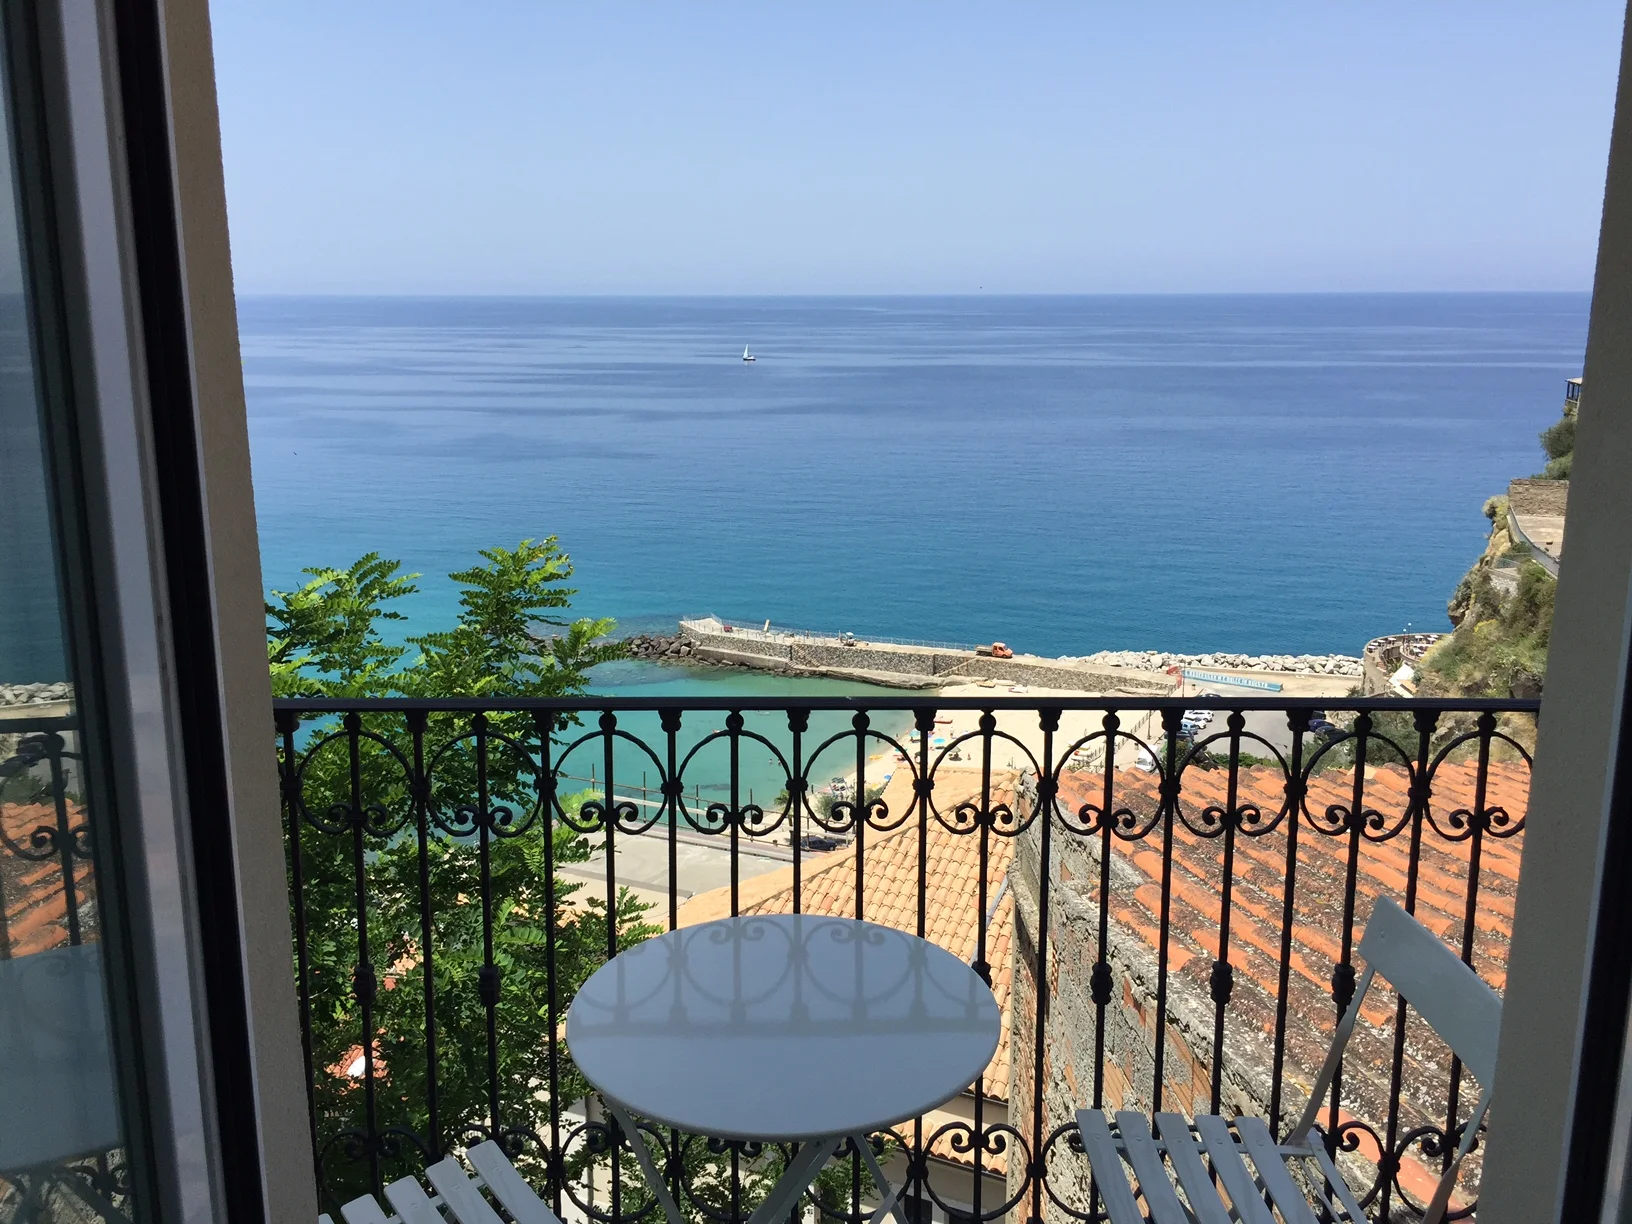
Dependance: open window in the kitchen with a view

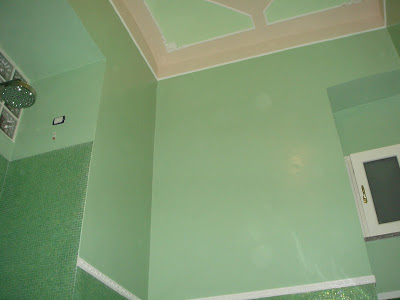
Dependance: kitchen will be on the left, passage to living room, kitchen balcony
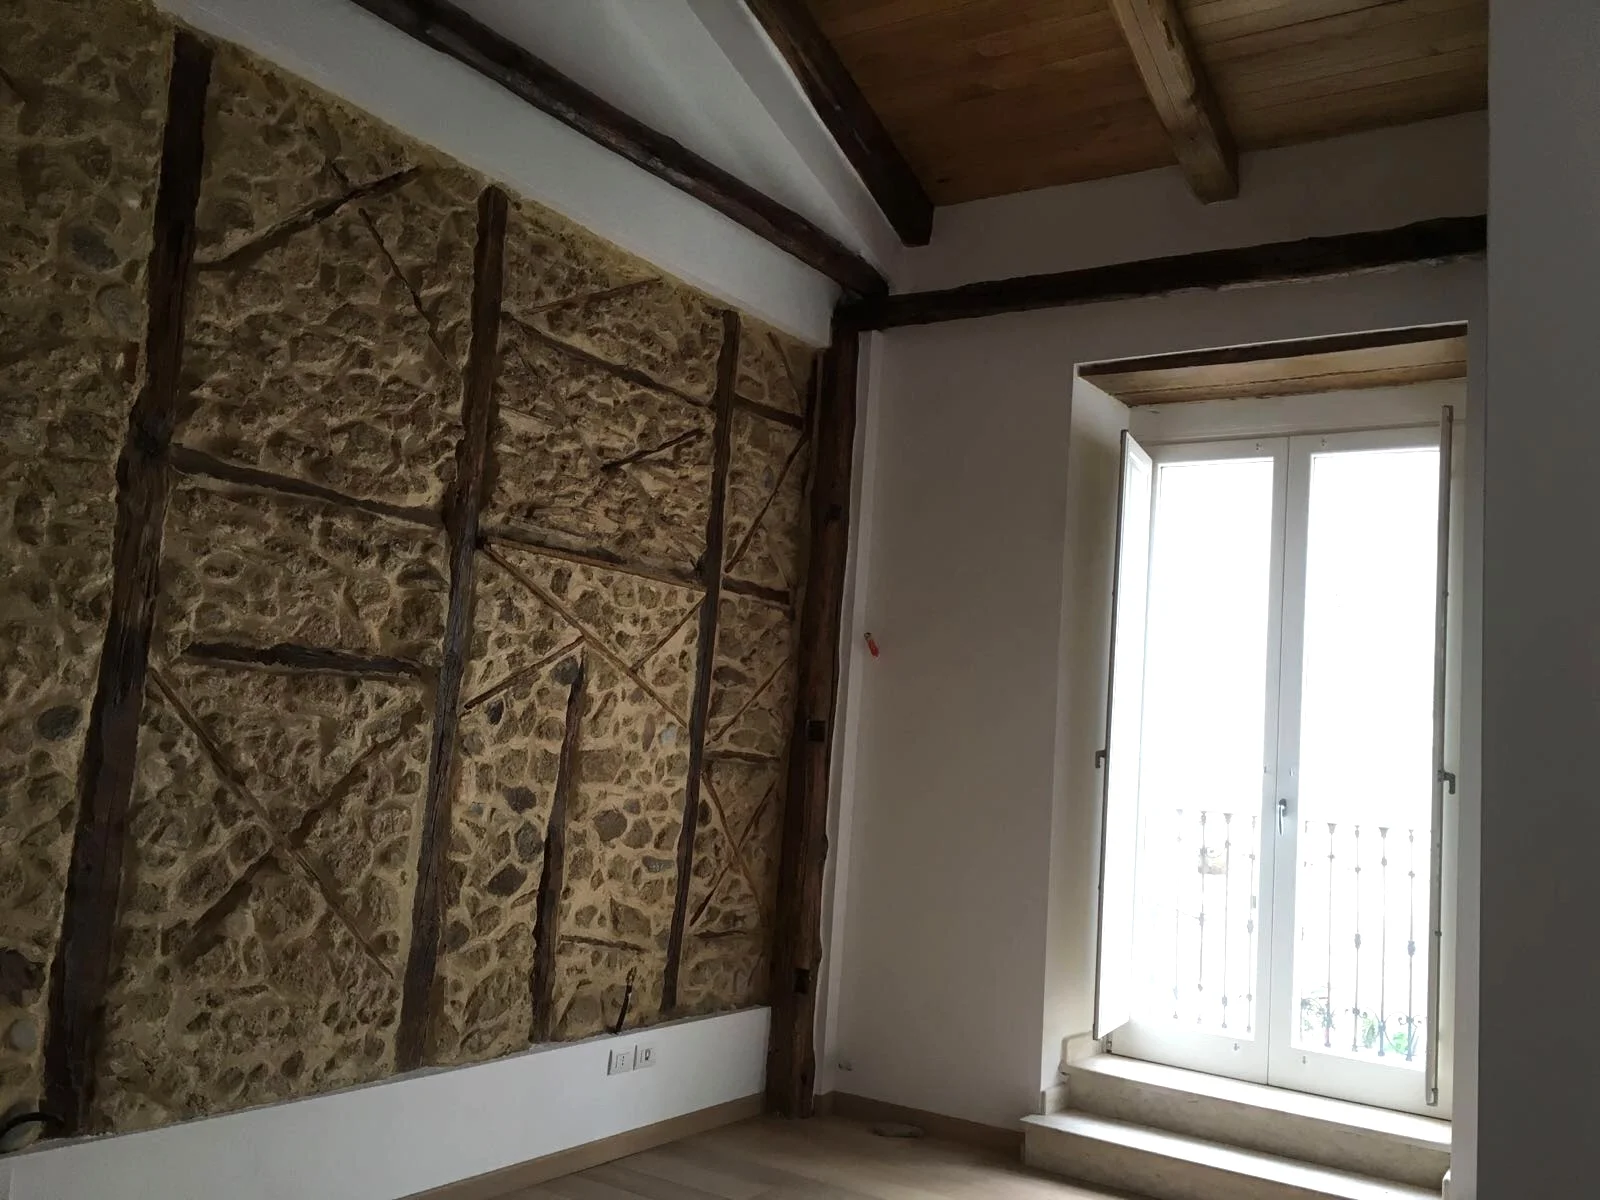
Dependance: master bedroom with original stone wall and small balcony

The house: Studio Bellavista entrance below left, Dependance entrance upstairs

Studio: entrance and kitchen area

Studio Bellavista: The bedroom with a small balcony facing the sea

Studio Bellavista: living room with 2 windows facing the sea

Studio: balcony of bedroom facing the sea
All photos by Angelo, shot with his phone and sent via what's app group. Please expect big progress in April and more photos on the way.