Bathroom: Can't take my eyes of subway tiles

A beautiful mix of three different shapes of white tiles, separated by a thin border of black tiles and finished with a pastell mint wall paint - I am impressed by this composition ! 

Not sure via which blog I found the above picture, but the photo below is from another blog and it shows the the same bathroom! So, I proudly present both pics together in one blog :


I just can't take my eyes of subway tiles


Subway tiles (on walls) are often combines with hexagon tiles on the floor. Here above with tiny, mosaic type hexa tiles.

But you can do it easier and cheaper, but not less interesting with square tiles :

Just another bathroom of ours ...

Rectangular subway tiles on the walls and square tiles, diagonally layed on the floor


Since we had not made any further specifications than "green" wall colour, our son (7 y.) actual favorite colour, Angelo used the leftover paint from downstairs and added a border of his choice. I think it looks super good, especially when you see the "matching" green leaves through the bathroom window and ....

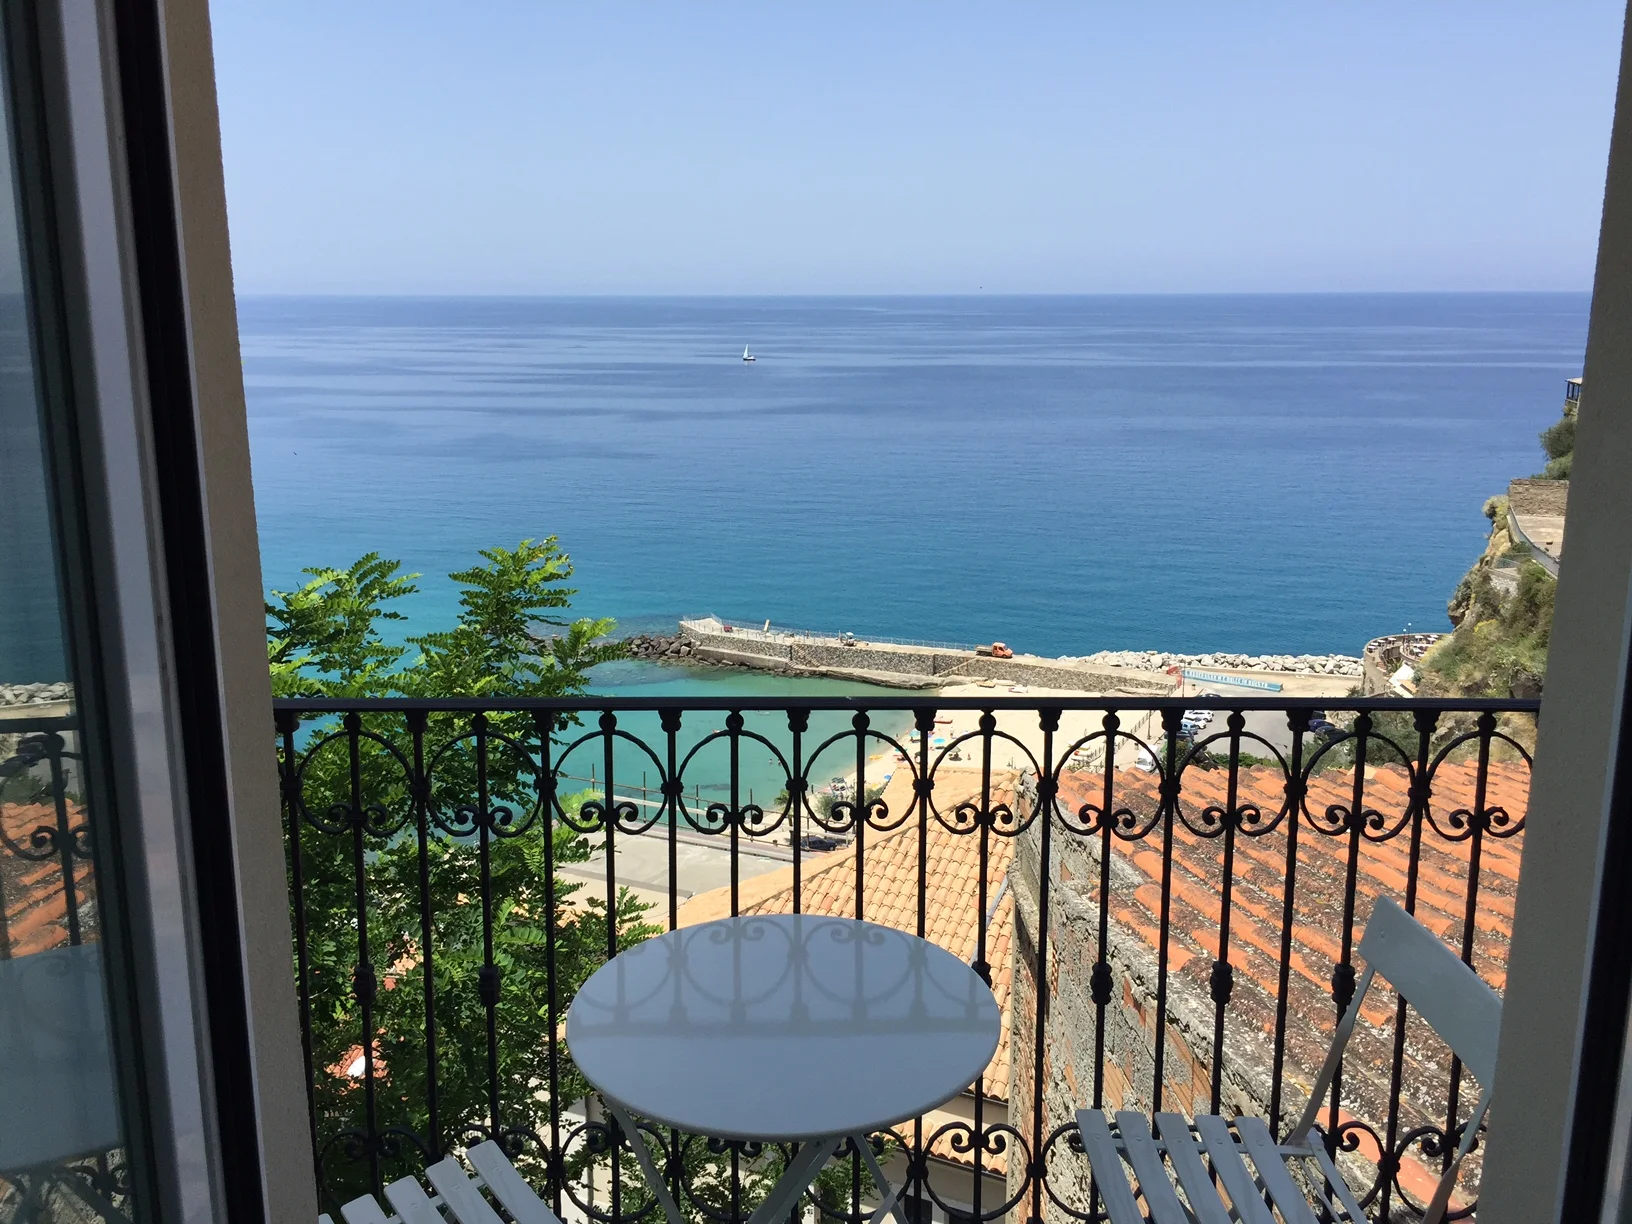
.... a bit of sea view

More about this bathroom later with before & after pics.

The Welcoming Entrance

After having written a lot about visitors - real visitors, virtual visitors, booked visitors, future visitors - just-in-time, the entrance starts to look welcoming :

view from inside

view from outside

BEFORE stairways

NOW stairways (wooden railway still missing)

BEFORE ceiling

AFTER ceiling

Actually, the first pinkish paint became somehow an apricot, peachy Bellini colour - not sure if this is due to a second coat of paint, on purpose by Angelo, or that it has to do with light / photo flashes. - BTW, the lamp will remain the same, remember?


BEFORE entrance

NOW entrance (during renovation)

man at work - Tonino preparing the last new marble step

More Green in the Green Bath

Remember the green bathroom with the beautiful ceiling? Now the walls and floor are finished too and worth to post about. We have chosen a green mosaic for the "wet" areas - sink, shower, toilet and bidet - the latter not yet installed.


Actually, CC had chosen the mosaic after one of my Internet finds. And Angelo has chosen a matching colour and stucco border. And it was CC's idea to repeat a bit of green mosaic in the terracotta flooring.


Initially, I wanted two single sinks as I did not wanted to queue for hand washing when coming home from the beach. Also I thought of using one as a utility sink to rinse swim wear. However, at the end, to safe space and reduce interruptions, we agreed on one long sink with two faucets. I just learned that this solution was probably more expensive then two sinks.


I like our idea to have a stucco border to finish the mosaic area and to paint the other wall parts below the stucco border in a darker green. Similar like in the original green room.


Above you see on the left that the shower is installed - and a bit of the restored ceiling.


In this green painted corner (above) we will install a washing machine. I know..., but it has to be somewhere in the house. (If it does not look nice, I will have built a wooden frame.)

Above picture (without flash) shows again the nice floor - and walls ! 

Above: floor in the making

Below: floor finished (terra cotta con mosaico)


Here some BEFORE pictures:


Above: Splitting the "green room" to gain a bathroom. One old niche, on the left, where the sink of the old bathroom used to be (however in reverse direction) remained and now is hosting the shower in the new bathroom.


I wanted to keep that "green room subject": a two colour wall with stucco border.

Below: my "inspiration sheet" for the bathroom - we pretty much kept the theme.


But at the end, the ceiling turned out much better than planned, thanks to Angelo's artistic talent:

Above: ceiling BEFORE restoration

Above: ceiling AFTER restoration

Some Surprises Revealed

CC, my husband, had the chance to check out the house and the latest news in and around Pizzo for three whole days! Last night he sent me some pictures that were a surprise, since Angelo never reported about some work he had done. I think he had so much fun being creative and experimentalizing, he didn't want to wait for any approval. See the results here :

A ceiling like a "gelato al limone" or "sunny side up"

It is my son's room. Let's see if he likes it...

Actually, you do not look all the times up, you rather see the room like above.


A pinkish two tones ceiling in the entrance - love that!

Angelo is working on restoring that stucco rosette by replacing some missing peaces.
I asked him to leave the bit of background like it is now (with some yellow, ochre colour). 

Here the maestro in person coming down the stairway he has just coloured.
The stairs look that way as we have to replace the old marble steps that were a lot broken.


Another surprise: a framed mirror for 20 Euro.
And it looks good! Was not ordered or found by me, but it can stay!


I knew that Angelo had found some fresci below the ceiling paint in the living room.
But I did not yet see the result after scratching away all the excess paint.

Awesome ! Like it !
Not sure what the plan is for the rusty beams.
The whole in the ceiling is for some chimney or stove.


Last surprise: a "neat" chandelier in our bedroom...
This mail from CC had the comment: "If you do not like it, it can be removed".
My answer: "yes, please, remove to guest bedroom until we find better solution".

Wow, so many new pictures. Actually it was not all done in three days. Angelo was hiding this from us! Cheeky ! However, he announced that he had chosen a different colour for our son's room. I knew that that will be a surprise. But did not expect so many others. Well, we have so many rooms, why not some surprises... I think Angelo had great fun to bring in his own ideas without waiting for my "pro-and-cons-naa-hesitating-maybe-not-decision-making-process". Vero, Angelo?


The Green Bath Room Ceiling with BEFORE and AFTER pics

amazing restored ceiling of the "green room"

At the beginning, when we overtook the house, there was only one room painted in "original" colours (all others were painted white). And that room became then our "green room".

Later, we decided to have a larger kitchen by giving in the space of the former bathroom. So, the new bathroom had to be part of the "green room". There was no way around, we had to remodel it by building in a wall and split it into two spaces. By doing so, the ceiling stucco pattern was interrupted. However, we decided to restore it as good as possible and even use the same colour scheme as before: pale green, and pale rose for the ceiling with white stucco ornaments.

And here is the result !

Angelo did again an amazing job ! Bellissimo ! Grazie !


walls are painted with "smalto" (water-repellent paint)


Below, see the BEFORE pictures :


I am not sure in which corner of the "green room" I took these pictures (above), since I took them some years ago... But when the wall was installed that separates now the coming new bathroom from a kind of side entrance and storage area, the pattern of the ceiling stucco looked like in the picture below :

ceiling stucco interrupted by new wall

my "photoshopped" proposal for Angelo

But he did a much better job ! What a surprise !

Coming next :
Walls: pale green and a darker green, eg. Pea or Saxon green by Farrow & Ball, for the lower part with a white stucco border inbetween the two colours. We have ordered mosaico tiles for the wet areas and terra cotta tiles for the flooring.